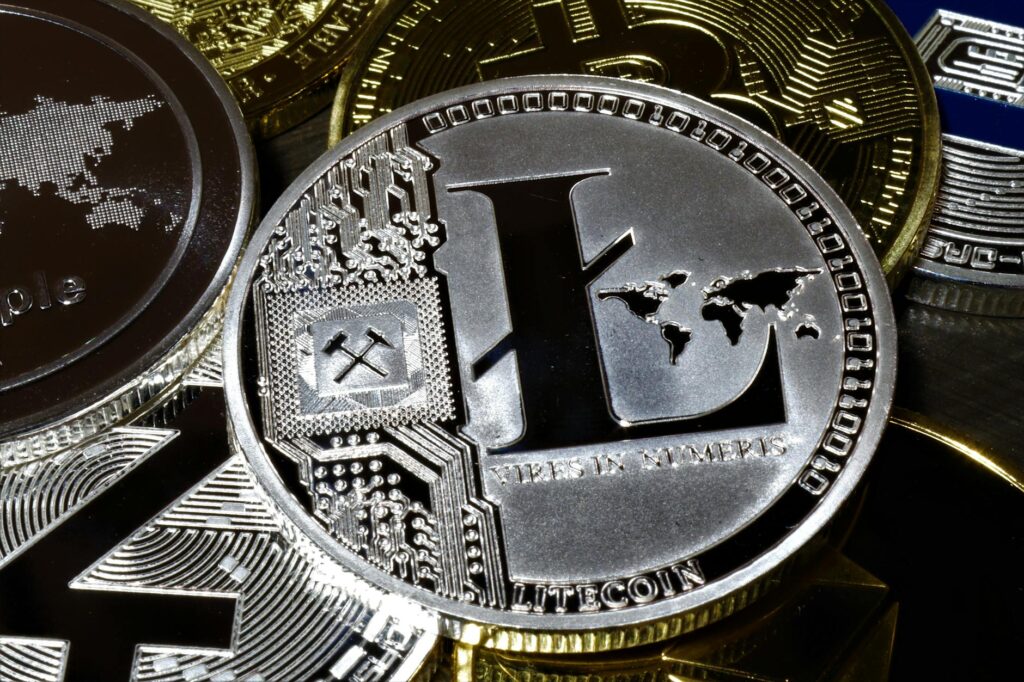
Jumping into the world of cryptocurrency is exciting. You’ve heard about Bitcoin, Ethereum, and a dozen other coins, and you’re finally ready to take the plunge. But before you can buy your first fraction of a coin, you need a gateway. That gateway is a cryptocurrency exchange. The first step, setting up your digital currency exchange account, is arguably the most important one you’ll take. Why? Because doing it correctly, with a laser focus on security from the very beginning, can save you from a world of headache, heartache, and financial loss down the road. It’s not just about clicking ‘Sign Up’; it’s about building a digital fortress around your future assets.
Think of it like getting the keys to your first apartment. You wouldn’t just leave the door unlocked, would you? Of course not. You’d check the locks, maybe even install a deadbolt. We need to apply that same real-world common sense to our digital finances. This guide isn’t just a technical walkthrough. It’s your friendly, step-by-step manual for building that fortress, ensuring your first experience with digital currency is a safe and successful one.
Key Takeaways
- Security First, Always: Prioritizing security during setup is non-negotiable. This includes a strong, unique password and, most importantly, enabling the strongest form of Two-Factor Authentication (2FA) available.
- Choose Wisely: Not all exchanges are created equal. Your choice should be based on a combination of security features, fees, reputation, and the specific cryptocurrencies you’re interested in.
- KYC is Your Friend: Identity verification (Know Your Customer) is a standard and necessary process on reputable exchanges. It protects you and the platform from illicit activities.
- Understand Custody: Leaving large amounts of crypto on an exchange is convenient but risky. Learn the basics of self-custody and consider moving long-term holdings to a personal wallet.
Before You Start: Choosing the Right Exchange
Before we even get to the ‘how-to’, we have to tackle the ‘where’. The crypto exchange you choose will be your primary partner in this journey. The sheer number of options can feel overwhelming, but you can cut through the noise by focusing on a few critical factors.
Security & Reputation
This is number one, with a bullet. You’re trusting this company with your money. How do they protect it? Look for exchanges that have a long, clean track record. Have they ever been hacked? If so, how did they respond? Did they make their customers whole? A platform’s history speaks volumes.
Key security features to look for include:
- Cold Storage: The exchange should keep the vast majority of customer funds in ‘cold storage’—offline wallets that are inaccessible to internet-based threats.
- Insurance: Some top-tier exchanges carry insurance policies to protect against losses from a security breach. This is a huge plus.
- Third-Party Audits: Reputable exchanges often hire external security firms to audit their systems and provide a ‘proof of reserves’, showing they hold the assets they claim to.
Fees
Nothing in life is free, and that includes trading crypto. Exchanges make money through fees, which can get complicated. Don’t get paralyzed by the complexity, but do understand the basics. You’ll typically encounter trading fees (a small percentage of each buy or sell order), deposit/withdrawal fees, and network fees. Some platforms have a simple, flat-fee structure which is great for beginners, while others use a ‘maker-taker’ model that can be cheaper for high-volume traders. Read the fine print before you commit.

Coin Selection
Are you here just for Bitcoin and Ethereum, or do you have your eye on a smaller, more obscure altcoin? Make sure the exchange you choose actually lists the assets you want to buy. A major exchange like Coinbase or Kraken will have a wide selection of well-vetted projects, while others might specialize in newer, more speculative tokens. For a beginner, starting with an exchange that focuses on established projects is a much safer bet.
User Experience (UX)
Is the platform easy to navigate? Is the mobile app functional and intuitive? As a newcomer, you want a clean, simple interface that doesn’t feel like you’re trying to pilot a space shuttle. Many exchanges offer a ‘basic’ and ‘advanced’ trading view. Stick to the basic one to start. You can always explore the more complex features later as your confidence grows.
The Step-by-Step Guide to Setting Up Your Digital Currency Exchange Account
Okay, you’ve done your research and picked an exchange. Now for the fun part. Let’s get that account set up, locked down, and ready for action.
Step 1: Registration – The Front Door
This part is straightforward and will feel familiar if you’ve ever signed up for any online service. You’ll head to the exchange’s official website—double-check the URL to ensure you’re not on a phishing site!—and click ‘Sign Up’ or ‘Get Started’.
You’ll be asked for:
- Your full legal name
- A valid email address
- A strong password
A quick word on that email and password. It’s highly recommended to use an email address that is itself secured with a strong password and 2FA. Even better, consider using a unique email address just for your financial accounts. For your password, don’t be a hero. Use a password manager to generate and store a long, complex, and completely unique password. Something like Tr0ub4dor&3 isn’t good enough anymore. Think more like $Zj#9qE!v8@kLp*G^r7F.
After submitting, you’ll receive a verification email. Click the link inside, and you’re in. But you’re not done. Not even close.
Step 2: Securing Your Account (Don’t Skip This!)
This is the most critical step in the entire process. If you walk away with one thing from this guide, let it be this: enable Two-Factor Authentication immediately. 2FA adds a second layer of security beyond your password. Even if a hacker manages to steal your password, they won’t be able to access your account without this second piece of information.
Most exchanges offer a few types of 2FA. Let’s break them down from least secure to most secure:
- SMS-based 2FA: The exchange texts a code to your phone. It’s better than nothing, but it’s the most vulnerable option. Hackers can use a technique called ‘SIM-swapping’ to take control of your phone number and intercept these codes. Avoid this if you can.
- Authenticator App (TOTP): This is the sweet spot for most people. You’ll use an app like Google Authenticator, Microsoft Authenticator, or Authy on your phone. The app generates a new 6-digit code every 30 seconds that is synced with your exchange account. It’s much more secure than SMS because it’s not tied to your phone number. When you set this up, the exchange will give you a backup or recovery phrase. Write this down on paper and store it somewhere incredibly safe, like a fireproof safe. This is your lifeline if you lose your phone.
- Hardware Security Key: This is the gold standard. A hardware key is a small physical device (like a YubiKey) that plugs into your computer’s USB port or connects via NFC to your phone. To log in, you need your password plus a physical tap on the device. It makes you virtually un-phishable. It’s a small investment for ultimate peace of mind.
Go into your account’s ‘Security’ settings and set up the strongest form of 2FA you can, preferably an authenticator app or a hardware key. Do it right now.
Step 3: Identity Verification (KYC/AML)
You’ll notice that your new account is quite limited. To unlock full functionality, like depositing and withdrawing traditional currency (USD, EUR, etc.), you need to verify your identity. This process is known as KYC (Know Your Customer) and AML (Anti-Money Laundering). It might feel a bit invasive, but it’s a legal requirement for any legitimate financial institution. It’s a good sign; it shows the exchange is compliant with regulations and is actively working to prevent fraud and crime.
You will typically need to provide:
- Your address and phone number.
- Your Social Security Number or other national ID number.
- A photo of a government-issued ID, like a driver’s license or passport.
- A selfie or short video of yourself to prove you’re a real, live person and match the ID photo.
The process is usually automated and can take anywhere from a few minutes to a few days. Be patient. Once you’re verified, the full features of the exchange are at your fingertips.
Step 4: Funding Your Account
Now it’s time to connect a funding source. You have a few common options, each with its own pros and cons:
- Bank Transfer (ACH): This is often the most popular method for US customers. It’s cheap (often free) but slow. It can take 3-5 business days for the funds to clear and become available for withdrawal, though some exchanges let you trade with the funds instantly.
- Wire Transfer: This is much faster than ACH, often clearing the same day. However, it typically comes with higher fees from both your bank and the exchange. Good for moving larger sums of money quickly.
- Debit Card: This is the fastest way to buy crypto. The purchase is instant. The major downside is that the fees are significantly higher than other methods, often in the 3-5% range. Credit card purchases are sometimes possible but often treated as a cash advance by the card issuer, incurring even higher fees and interest.
For most beginners, starting with a simple ACH bank transfer is the most cost-effective approach.
Step 5: Making Your First Purchase
Congratulations, you’re on the one-yard line! The money is in your account, and you’re ready to buy. Let’s say you want to buy $100 of Bitcoin (BTC).
You’ll navigate to the ‘Trade’ or ‘Buy’ section, select BTC, and enter the amount you want to spend. You’ll likely see two order types: ‘Market’ and ‘Limit’.
- A Market Order buys the crypto immediately at the best available current price. It’s simple and fast. For a beginner buying a small amount, this is perfectly fine.
- A Limit Order lets you set a specific price at which you’re willing to buy. The order will only execute if the market price hits your target price. It gives you more control but there’s no guarantee it will ever be filled.
Select ‘Market Order’, enter ‘$100’, preview the transaction (which will show you the fee and the amount of BTC you’ll receive), and hit ‘Confirm’. That’s it! You are now the proud owner of some cryptocurrency.
Post-Setup Security: Best Practices to Live By
Your journey with security doesn’t end after setup. It’s an ongoing practice. Think of it as digital hygiene.
Understanding Self-Custody vs. Exchange Wallets
When you hold crypto on an exchange, you don’t actually control the private keys to those assets. The exchange holds them for you. This is convenient, but it comes with a risk. If the exchange gets hacked or goes bankrupt, your funds could be at risk. This leads to one of the oldest and most important mantras in crypto:
“Not your keys, not your coins.”
For small amounts you plan to trade actively, leaving them on a reputable exchange is generally acceptable. However, for larger amounts or long-term holdings (your ‘HODL’ bag), you should strongly consider moving them to a wallet where you control the private keys. This is called ‘self-custody’.
There are many types of self-custody wallets, from mobile apps (‘hot wallets’) to physical devices like a Ledger or Trezor (‘cold wallets’). Cold wallets offer the highest level of security as they keep your keys completely offline. Learning to use one is a vital next step in your crypto journey.
Beware of Phishing and Scams
Now that you have a crypto account, you are a target. Scammers will try to trick you into giving up your login details or private keys. Be skeptical of everything. Watch out for:
- Fake Emails: Emails that look like they’re from your exchange asking you to ‘verify your account’ or warning of a ‘suspicious login’. They will contain a link to a fake website that looks identical to the real one. Always navigate to the exchange directly by typing the URL in your browser.
- Social Media Scams: Twitter, Telegram, and Discord are rife with scammers. They might impersonate support staff and ask for your login info (real support will NEVER ask for this), or promote ‘giveaways’ that require you to send them crypto first. If it sounds too good to be true, it is.
Regularly Review Account Activity
Get in the habit of logging into your account and checking your login history. Exchanges will show you a list of all devices, IP addresses, and times that your account was accessed. If you see anything you don’t recognize, immediately change your password and contact support. It’s a simple check that can be an early warning system for trouble.
Conclusion
Setting up your first digital currency exchange account is your ticket into a fascinating new financial ecosystem. By taking these simple but crucial steps, you’re not just creating an account; you’re adopting a security-first mindset. You’re building the right habits from day one, which will serve you well as you continue to explore and invest. Remember, in this space, you are your own bank and your own head of security. Take that responsibility seriously. Your future self will thank you for it.
FAQ
Is it safe to leave my crypto on an exchange?
For smaller amounts or funds you are actively trading, it’s generally considered acceptable to leave them on a large, reputable exchange with a strong security track record. However, the safest long-term storage solution for significant amounts of cryptocurrency is in a self-custody hardware wallet (a ‘cold wallet’) where you, and only you, control the private keys.
What’s the difference between a crypto exchange and a crypto wallet?
Think of an exchange as a bank or brokerage where you can buy, sell, and trade various assets. They provide the marketplace and hold the assets on your behalf (custodial). A crypto wallet, on the other hand, is like your personal leather wallet or safe. It’s a tool (software or hardware) that allows you to store and control your own private keys, giving you direct ownership and control over your digital assets (self-custodial).
How long does KYC identity verification usually take?
The time can vary significantly between exchanges and depends on the volume of new applications they are processing. Many platforms use automated systems that can verify you within minutes. However, if a manual review is required, it could take anywhere from a few hours to several business days. It’s best to complete the process well before you’re in a hurry to make a trade.
